Creating a Clear Glue Suncatcher Craft is a delightful way to embrace the gentle beauty of light filtering through colors. As you dip your fingers into the soft texture of clear glue, a world of calm unfolds. Imagine the warm sunlight pouring through your window, illuminating vibrant hues that dance and shimmer, creating a serene atmosphere in your space. This project encourages you to slow down and immerse yourself in the simple joy of making, connecting with both the materials and the moment. You may also find Clear Glue Mosaic Suncatcher useful.
The Heart Behind This DIY
Engaging in a Clear Glue Suncatcher Craft allows for a mindful experience that fosters creativity and calming introspection. The simple act of pouring glue and selecting colors resonates with our sensory desires—smooth textures and bright visuals come together to form a harmonious piece of art. Each suncatcher becomes a reflection of your emotional state, filled with colors that spark joy or tranquility. As you create, the repetitive motions can soothe the mind, inviting a sense of peace and grounding that many of us seek in our busy lives. You may also find Clear Glue Suncatcher Home Decor useful.
A Gentle Look at the Process
Before diving into this craft, take a moment to savor the anticipation. Picture the gentle rhythm of pouring glue and arranging colorful elements. The soft sound of materials clinking together harmonizes with your thoughts, cultivating a meditative atmosphere. This craft doesn’t just fill a space with beauty; it connects you with the moment, allowing time to stretch and breathe. It’s about enjoying each step as much as the final creation, leading to a relaxed mindfulness practice that many find beneficial in their daily lives. You may also find Clear Glue Suncatcher useful.
Materials You’ll Need
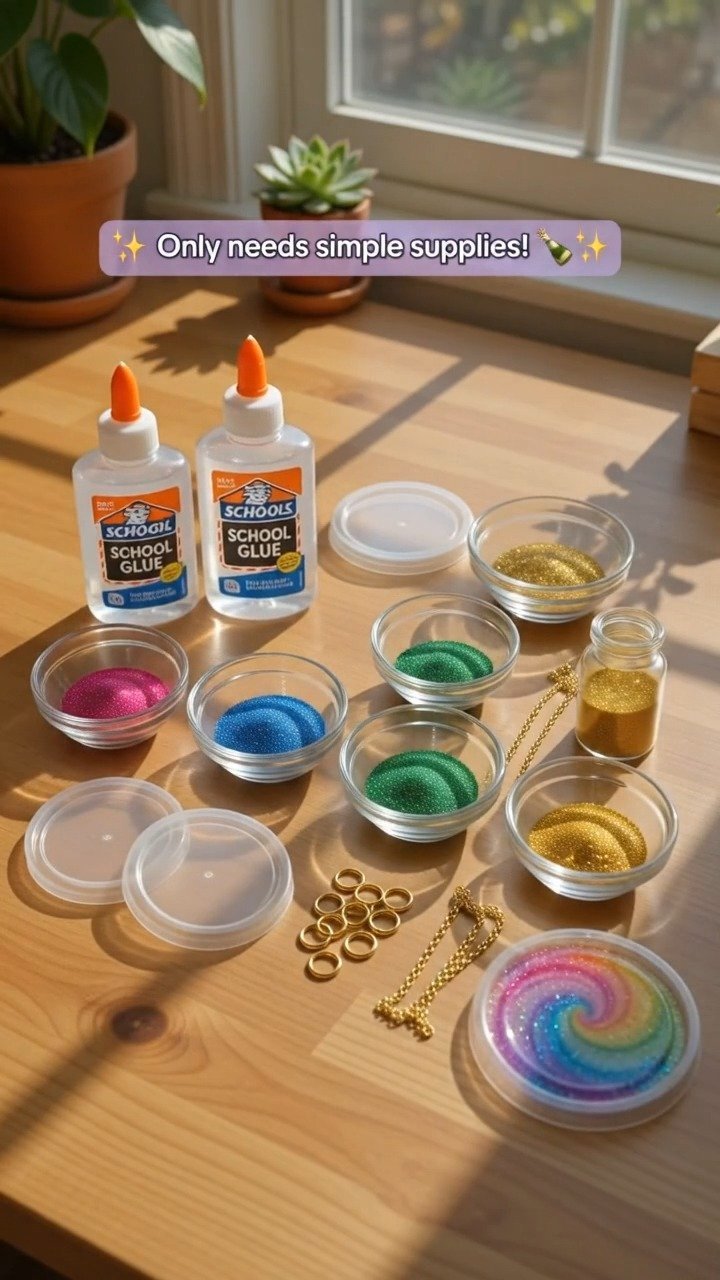
- Clear glue (easy to find at craft stores)
- Colorful tissue paper or cellophane (substitute-friendly)
- Scissors
- A round or square template (like a sturdy paper plate)
- A paintbrush or spatula (for spreading glue)
- A baking sheet or parchment paper (for drying)
Step-By-Step Directions
Prepare Your Workspace: Start by finding a comfortable, well-lit space. Lay down your baking sheet to catch any glue spills. You may also find Colorful Glue Suncatcher Craft useful.
Cut the Tissue Paper: Use scissors to cut your colorful tissue paper or cellophane into small shapes. Let your creativity guide you—hearts, circles, or abstract pieces will all work beautifully.
Apply the Glue: Using a paintbrush or spatula, spread a thin layer of clear glue onto your template. As you apply the glue, notice its smooth texture and how it glides effortlessly.
Arrange the Colors: Begin placing your cut tissue paper pieces onto the glue. You might find joy in layering colors or creating patterns, letting each piece rest gently in place.
Seal with More Glue: Once you’re pleased with your arrangement, apply another thin layer of glue over the top, ensuring all edges are sealed. This layer adds a shiny finish and protects your art.
Drying Time: Allow your suncatcher to dry for several hours. During this time, take a moment to reflect. Perhaps enjoy a cup of tea or a gentle walk while you await the lovely transformation of your project.
Bringing Clear Glue Suncatcher Craft Into Your Space
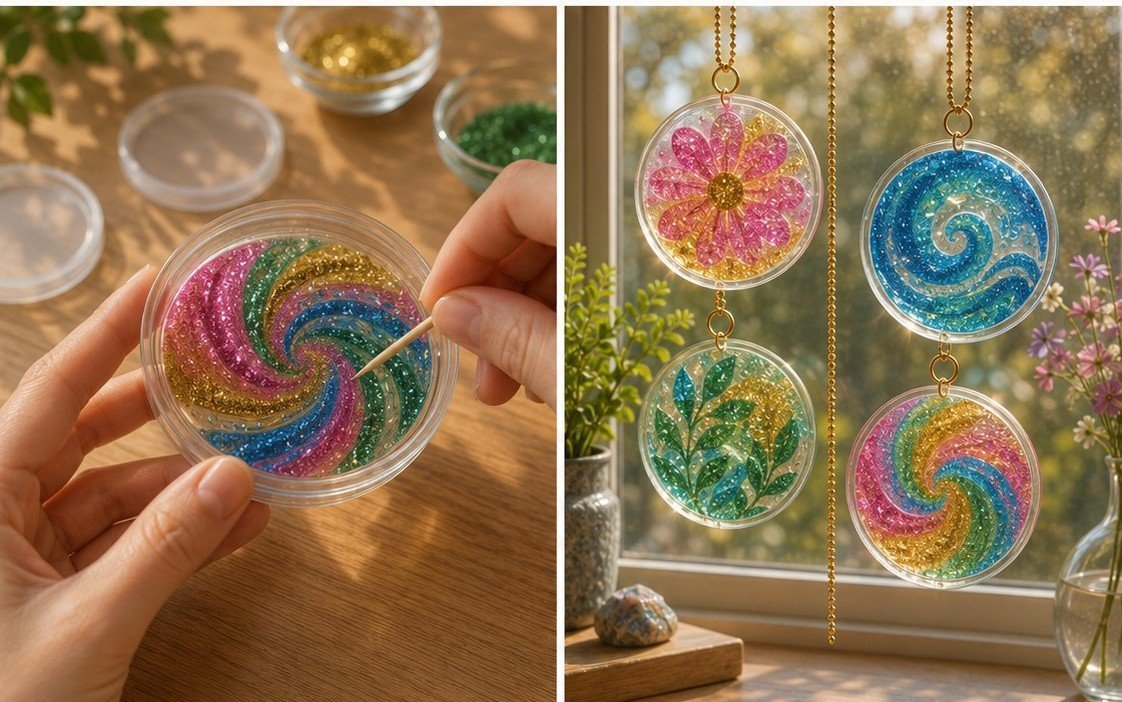
Once your suncatcher is dry, it’s time to display it. Consider hanging it on a window where sunlight can dance through the colorful pieces. The way the colors come alive in the light brings a unique touch to any room. It serves not only as decoration but also as a reminder of your creativity and tranquility. Watching the colors shift and change with the light can be a soothing experience and a gentle nudge to embrace the present moment.
Caring for Your Finished DIY
To keep your suncatcher vibrant and lovely, ensure it’s handled gently. If necessary, dust it off carefully with a soft cloth. Avoid exposing your suncatcher to extreme temperatures or direct water, as this can compromise the glue. If you notice it losing its shine, a thin layer of clear glue can be reapplied to refresh its look gently.
Small Ways to Make It Your Own
- Try Different Shapes: Use varied templates, like hearts or stars, to create a wide array of suncatchers.
- Natural Elements: Incorporate dried flowers or leaves between the layers of glue for a botanical touch.
- Layering Techniques: Experiment with layering different colors and textures of tissue paper for a stunning depth effect.
- Seasonal Themes: Change the colors according to seasons or holidays. Think pastel tones for spring or deep hues for autumn.
FAQs About Clear Glue Suncatcher Craft
What type of glue works best?
Clear school glue works wonderfully for suncatchers, as it dries transparent and holds materials securely.
Can I use other materials?
Absolutely! Consider using glitter, dried flowers, or even beads to create unique effects.
How long does it take to dry?
Typically, it takes a few hours for the suncatcher to dry completely, but for best results, allow it to sit overnight.
Are there any age restrictions?
This project is suitable for all ages, though adult supervision may be beneficial for younger crafters using scissors or pouring glue.
Conclusion
In conclusion, creating a Clear Glue Suncatcher Craft not only beautifies your space but also nurtures a sense of peace. The entire process, from selecting colors to the final unveiling, invites you to slow down and engage with your creativity. Embrace the soothing experience of making this DIY. For more ideas, you might find inspiration in this Colorful DIY Glue Suncatcher Craft. Enjoy the journey and the vibrant touch of handmade art in your home.