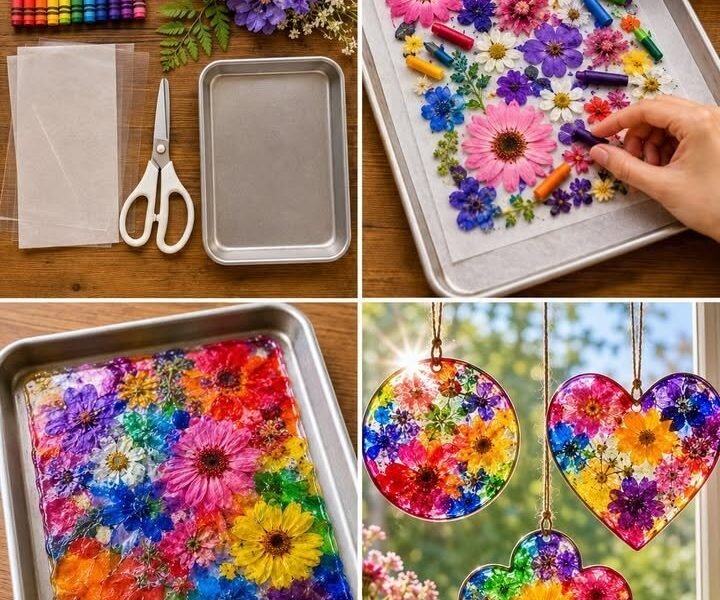
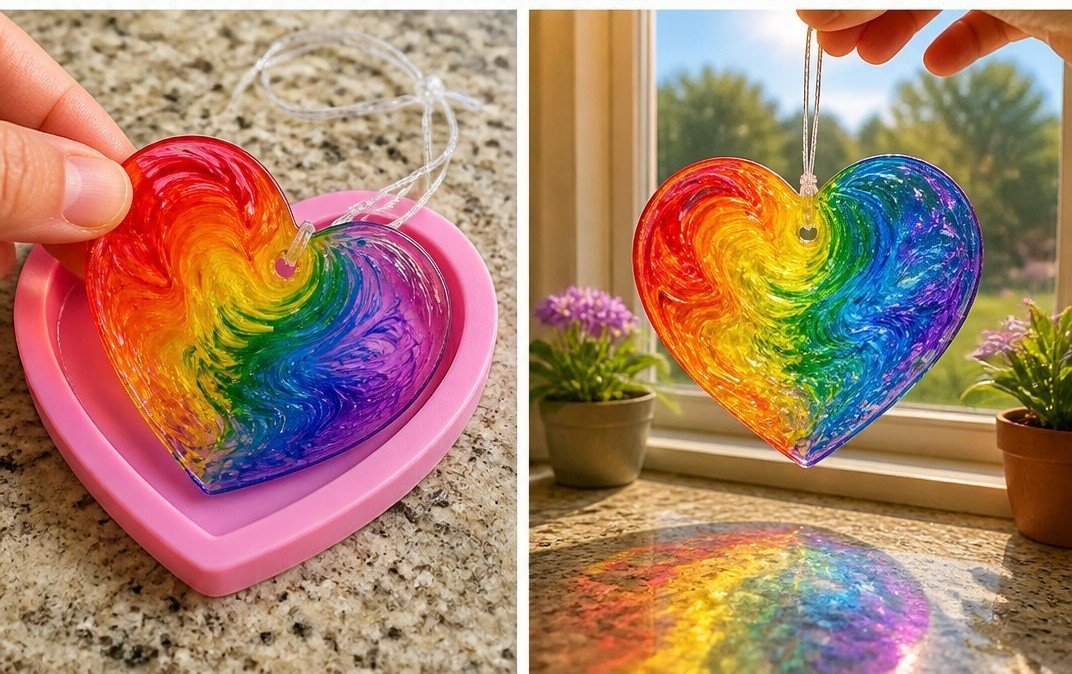
Swirled Glue Suncatchers invoke a gentle sense of peace as colors blend and dance in the light. The soft, glossy texture of the glue evokes tactile memories, inviting you to slow down and immerse yourself fully in the process. Just as the sun filters through a window, these vibrant creations not only catch the light but also capture moments of stillness and thoughtful creativity. Crafting these suncatchers can feel like a quiet hug from a good friend, wrapping you in warmth and comfort. You may also find Clear Glue Flower Suncatchers Cozy useful.
The Heart Behind This DIY
Creating Swirled Glue Suncatchers is about more than just art; it’s an emotional journey that encourages mindfulness. This activity allows you to engage with colors and textures in a visceral way, focusing your mind on the present and letting distractions fade away. The rhythmic motion of combining colors swirls your worries away, bringing an immediate sense of calm. It’s a delightful pause in the day that reconnects you with your senses, and that quiet joy makes the process truly rewarding. You may also find Clear Glue Suncatchers Cozy useful.
A Gentle Look at the Process
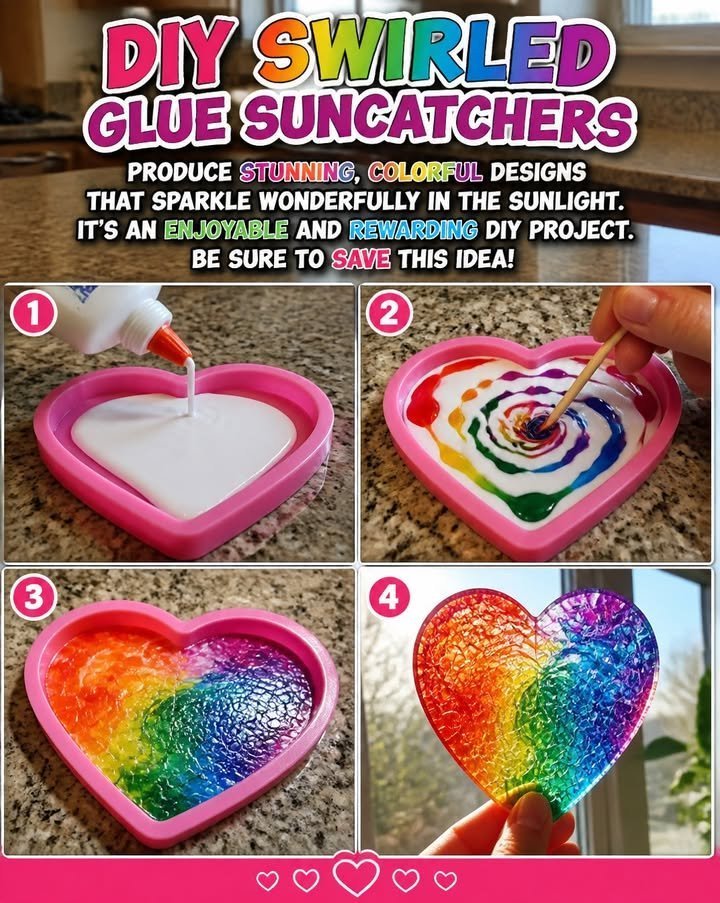
As you prepare to make your Swirled Glue Suncatchers, allow yourself to envision the fluidity of the glue and the vibrant shades of color that will blend together. The sound of the glue being squeezed from the bottle as you layer it in beautiful patterns creates a tranquil ambiance. Each motion, whether it’s swirling, pouring, or mixing, becomes a form of gentle meditation. By engaging fully in this creative process, you embrace the rhythm of making, with no rush to reach that end result. You may also find Diy Glue Suncatchers useful.
Materials You’ll Need
Gathering your materials can be a soothing part of the experience. Here’s what you’ll need to create your suncatchers: You may also find Sparkling Clear Glue Christmas Suncatchers useful.
- Clear school glue (easy to find)
- Food coloring or liquid watercolors
- Wax paper or plastic sheet for the base
- A squeeze bottle (optional for precise application)
- Craft sticks for swirling the colors
- Scissors
Feel free to substitute any materials with what you have on hand, allowing for flexibility in your creativity.
Step-by-Step Directions
- Begin by laying down a sheet of wax paper or a plastic sheet on your workspace. This is your canvas for the suncatcher.
- Pour clear school glue onto the surface, spreading it lightly with a craft stick or your fingers to cover the desired area.
- Add drops of food coloring or liquid watercolors at intervals across the glue. You can use any colors that speak to you.
- Use a craft stick to gently swirl the colors together, creating beautiful variations in the patterns.
- Let your creation sit undisturbed for several hours or until the glue is completely dry. The excitement of watching it transform is part of the experience.
Enjoying the Finished Piece
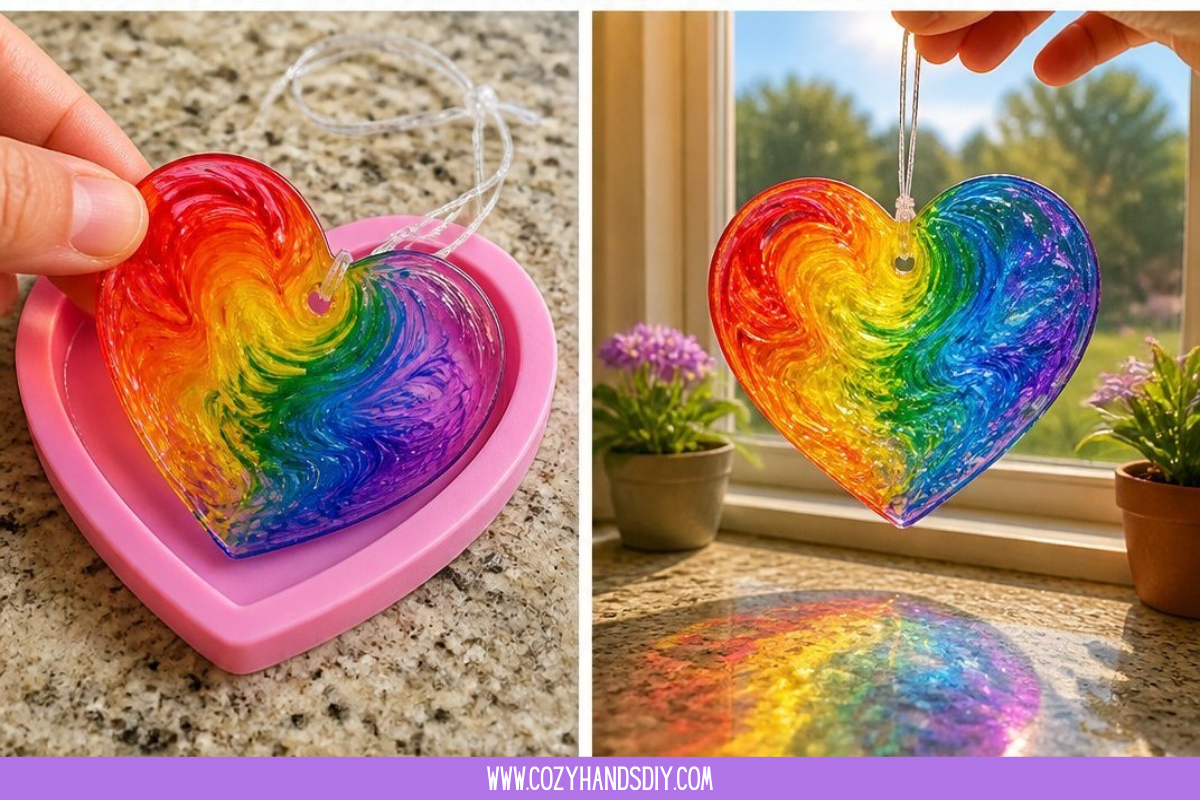
Once dried, your Swirled Glue Suncatcher will become a stunning piece of art. Hang it by a window, and as sunlight filters through, it will illuminate your space with colorful reflections. Besides being beautiful to look at, these suncatchers can also serve as cheerful reminders of your time spent crafting and nurturing creativity. Integrating them into your home adds that warm touch of personal expression.
Caring for Your Finished DIY
To maintain the beauty of your suncatchers, gently clean them with a damp cloth if dust collects. Store them away from direct sunlight to prevent fading, and consider using them again next season as fresh decor. Their longevity allows you to enjoy the fruits of your labor over time, creating a lasting connection between you and your craft.
Gentle Tips & Variations
- Mix in some glitter to add an extra sparkle to your suncatchers for a child-friendly twist. It’s a wonderful way to entice young crafters.
- Try creating themed suncatchers for different holidays, such as vibrant reds and greens for Christmas or pastel shades for spring.
- Experiment with different adhesives, like using a clear drying craft glue for varied textures.
- Incorporate pressed flowers or leaves under the glue for a natural touch and more intricate designs.
- Invite friends or family to create alongside you; sharing the experience breathes more warmth into the creative process.
FAQs About Swirled Glue Suncatchers
What if my suncatcher doesn’t dry clear?
Sometimes, humidity can affect the drying process. Ensure you let it air dry completely in an area with good air circulation.
Can I use other types of glue?
While clear school glue works well, it’s possible to experiment with other clear drying glues. Just keep in mind that the drying time or finish may vary.
How can I hang my suncatcher?
You can use clear fishing line or adhesive hooks to hang your suncatcher. Both options allow for a seamless display without detracting from the artwork.
A Gentle Note Before You Go
As you wrap up your venture into making Swirled Glue Suncatchers, take a moment to appreciate the colors, textures, and emotions you’ve embraced. Each suncatcher not only brightens your space but also honors the creativity you nurtured during the process. Slow down, inhale the memories of your making, and allow the beauty of your art to resonate in your home.
Conclusion
In closing, consider expanding your crafting repertoire with additional glue-based projects like the Colorful DIY Glue Suncatcher Craft. Moreover, for a delightful holiday-inspired creation, check out the Elmer’s Glue Sun Catcher. Embrace the joy of crafting as a pathway to mindfulness and creativity, and let your artistic spirit flourish.