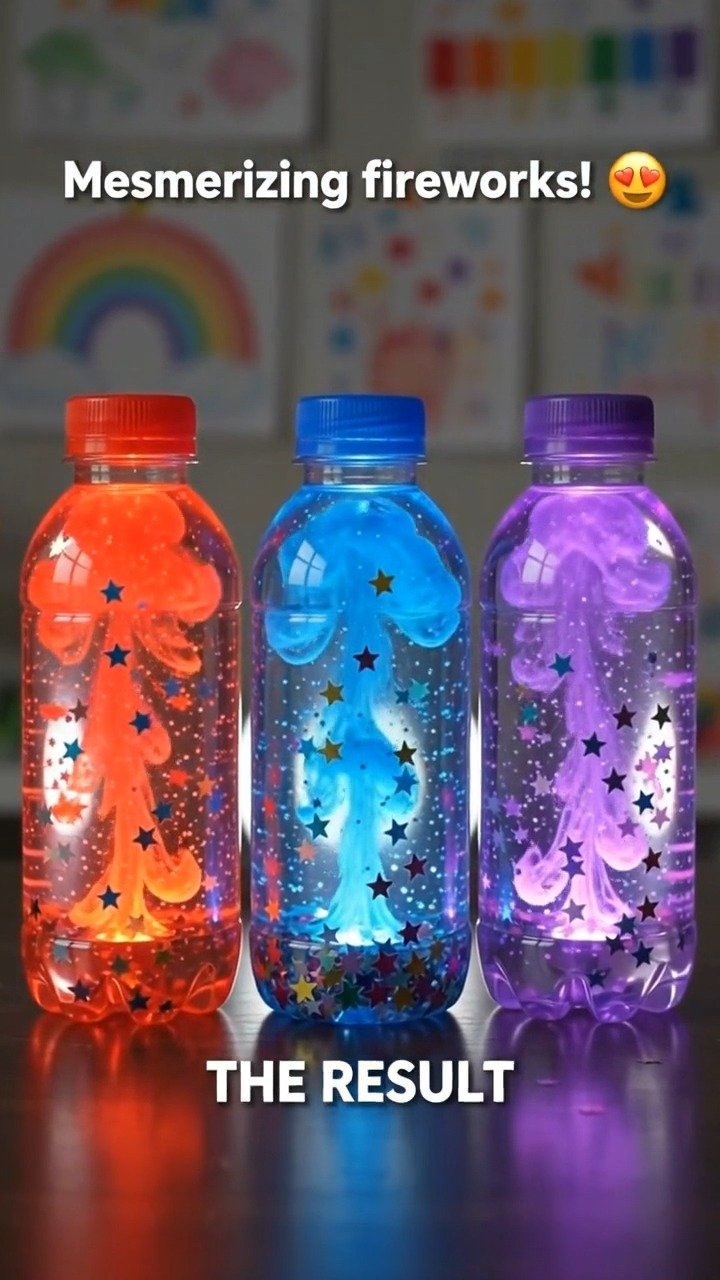
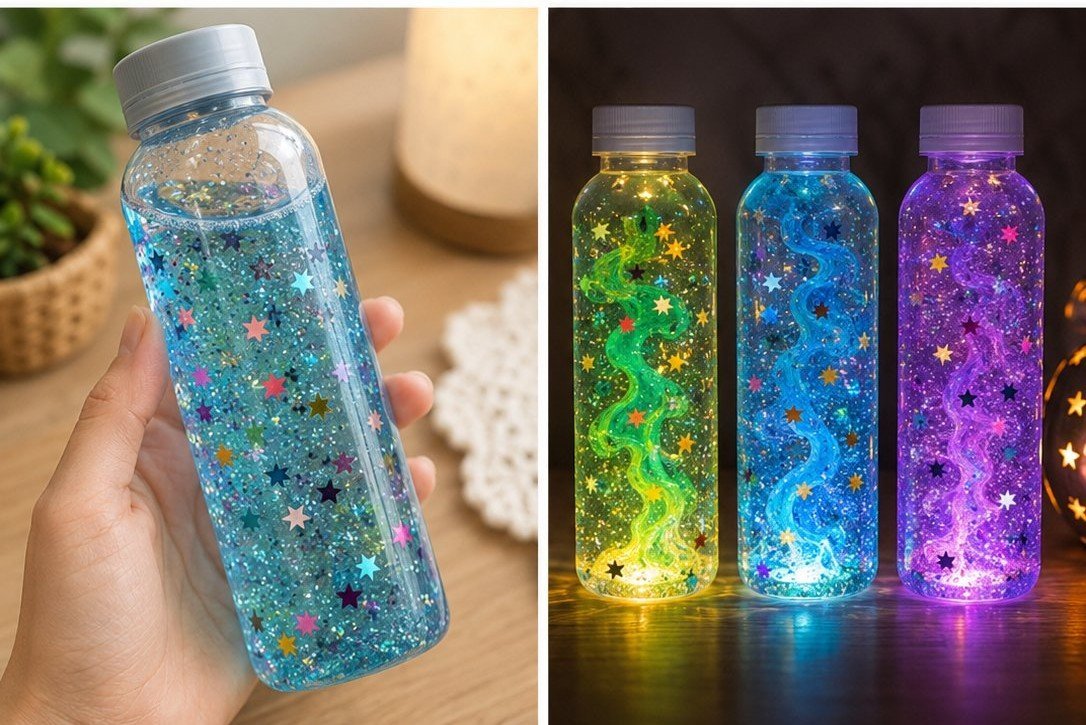
Creating a Sparkling Sensory Bottle is like capturing a moment of magic in a clear vessel. As you swirl and shake the bottle, the gentle movement of colorful elements can bring a sense of calm and wonder. Each glance at the twinkling layers invites a feeling of serenity, perfect for grounding ourselves amidst the busyness of life. You may also find Galaxy Sensory Bottle useful.
The Heart Behind This DIY
Making a Sparkling Sensory Bottle brings a sense of peace that resonates deeply with the heart. This DIY activity allows individuals to slow down, tuning into the soothing qualities of movement and light. The way the ingredients come together mimics natural wonders, fostering a connection to the world around us. Engaging in this process can transform a simple activity into a form of mindfulness. You may also find Easy Galaxy Crystal Seashells Sparkling Color useful.
A Gentle Look at the Process
Before you begin creating your Sparkling Sensory Bottle, it’s helpful to understand the smooth rhythm of assembling the materials. Each item selected contributes not just visually but also to the sensory experience, creating a delightful interplay of textures and colors. Movements can feel soft and intentional as you pour, shake, and display your completed bottle, inviting a sense of quiet joy. You may also find Fluffy Cloud Sensory Play useful.
Materials You’ll Need
For this comforting project, gather the following supplies: You may also find Galaxy Crystal Seashells Sparkling Colors useful.
- A clear, empty plastic or glass bottle (with lid)
- Water
- Clear glue (or glycerin)
- Food coloring (preferably gel for vibrant colors)
- Small objects for filling (like glitter, beads, or tiny shells)
- Optional: a funnel (for easier pouring)
You can find many of these materials around your home, making them easy to access and incorporate into your project.
Step-by-Step Directions
- Start by preparing your bottle. If it has been used before, ensure it’s clean and dry.
- Use a funnel to pour water into the bottle, filling it about two-thirds full.
- Add a squirt of clear glue or glycerin into the water. This will help the items in the bottle move slowly.
- Choose your food coloring and add just a drop or two for a subtle hue, adjusting according to your preference.
- Now comes the fun part: gently add your small objects, like glitter or beads. This creates a beautiful visual effect when the bottle is shaken.
- Carefully fill the rest of the bottle with water, leaving some space at the top to ensure it doesn’t overflow when closed.
- Securely fasten the lid. You can seal it with glue if desired for extra safety.
- Finally, give your bottle a gentle shake and smooth movement to watch the magic come alive.
Enjoying the Finished Piece
Once your Sparkling Sensory Bottle is complete, it becomes a lovely addition to any peaceful space. Place it on a desk, bedside table, or even as a decorative piece in a child’s room. When stress arises, a gentle shake and the ensuing sparkle can draw attention and create a calming influence, encouraging mindfulness and reflection.
How to Store or Reuse Sparkling Sensory Bottle
When it comes to maintaining your Sparkling Sensory Bottle, consider a few gentle care tips. Store it in a cool, dry place, away from direct sunlight to keep the colors vibrant. If the contents settle over time or the water level decreases, simply add more water and shake. This bottle can be reused for various sensory activities, allowing your creativity to flow freely.
Gentle Tips & Variations
- Try using different color combinations to create a thematic sensory experience, like ocean blues or sunset pinks.
- Experiment with various items to fill your bottle. Consider incorporating things such as tiny toys or natural elements like small pebbles.
- You might enjoy creating a series of sensory bottles, each designed for different purposes, such as relaxation, focus, or just playful exploration.
- Feel free to change the liquid ingredients; some might enjoy a mix of water and essential oils for a soothing scent.
- Share the process with others; making these bottles together can enrich the experience and create meaningful connections.
FAQs About Sparkling Sensory Bottle
What age is appropriate for making a Sparkling Sensory Bottle?
This activity is suitable for various ages. Younger children may need assistance with pouring and sealing the bottle.
How long does it take to make a Sparkling Sensory Bottle?
Typically, this DIY project takes around 30 minutes, depending on how many materials you choose to use.
Is it safe for children?
Yes, as long as you supervise younger children during the project. Ensure that small items are kept out of reach.
Can I change the contents after making it?
Absolutely! If you feel inspired, you can open the bottle and adjust the contents at any time.
What happens if the sparkles settle?
It’s perfectly normal for the contents to settle over time. Just give it a gentle shake to re-activate the visual effect.
Conclusion
Creating a Sparkling Sensory Bottle is not only a sensory experience but also an invitation to slow down and be present. This thoughtful project can serve as a gentle reminder of the beauty in simplicity. For more engaging ideas on making sensory bottles, you might explore this resource on how to make DIY sensory bottles.


