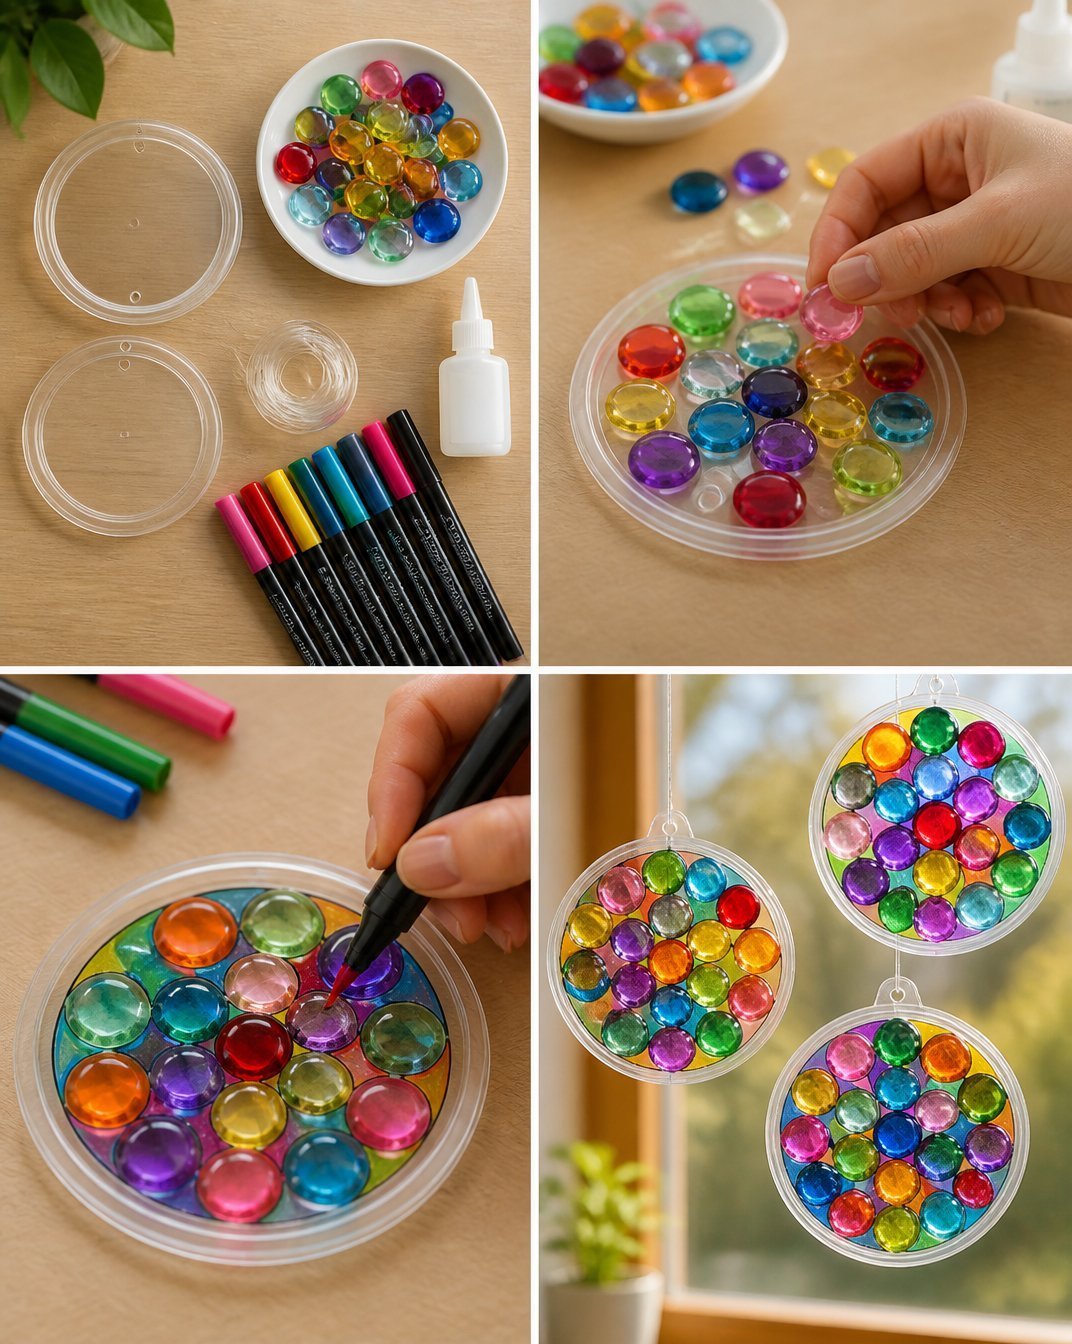
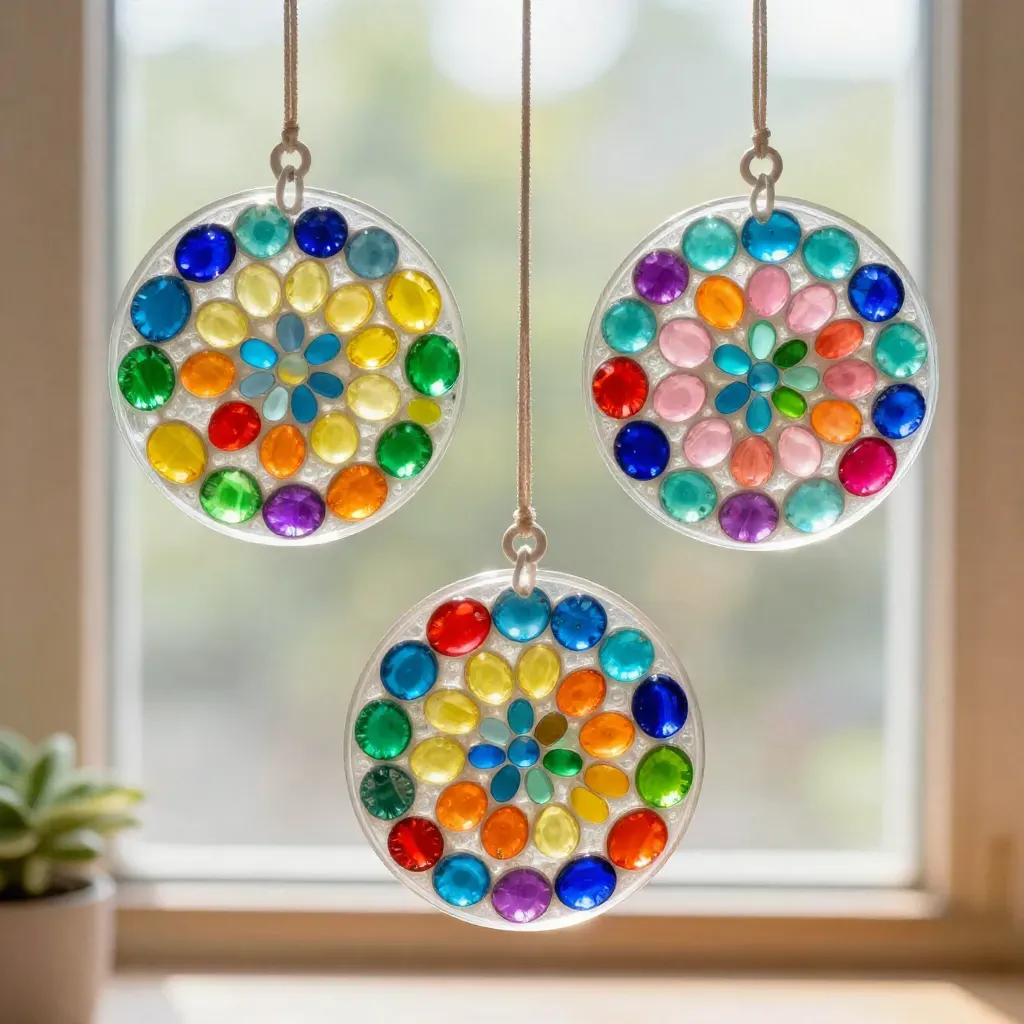
Stained glass suncatchers offer a beautiful dance of color and light, creating joy and tranquility in any space. The way sunlight filters through a carefully crafted piece brings a sense of warmth to your surroundings. Each shimmer and glint can evoke memories of sun-soaked days, inviting you to pause and appreciate their visual splendor. Making these suncatchers is not just an artistic endeavor; it is a meditative practice, allowing one to unwind and connect with the beauty of creation. You may also find Brighten Your Home Stained Glass Lantern useful.
The Heart Behind This DIY
The act of making stained glass suncatchers is deeply soothing. As you cut and position each piece, you engage with the materials in a tactile way, feeling the smoothness of the glass and the subtle clink as they fit together. This simplicity helps to slow down a busy mind, creating a grounding experience. Many find that focusing on such a project allows them to be present, indulging in the rhythm of creativity and the satisfaction of seeing it come to life. You may also find Fake Stained Glass Heart Cozy useful.
How This DIY Comes Together
Before diving into crafting, it’s essential to understand the flow of the process. Imagine yourself surrounded by your chosen materials, the sharp smell of cutting tools and the softness of the wrapping around the glass. The quiet sounds of scrapes and gentle taps enhance your focus, almost like a calming soundtrack guiding your hands. With each step, you become intertwined with your creation, establishing a connection with the colors and textures that will ultimately reflect light in your home. You may also find Fake Stained Glass Lanterns Cozy Glow useful.
Materials You’ll Need
To embark on creating your stained glass suncatchers, gather the following materials: You may also find Glue Stained Glass Recipe useful.
- Colored glass sheets (easy to find at craft stores)
- Glass cutter (a good-quality tool is best)
- Running pliers (to break the glass smoothly)
- Copper foil tape (for assembling the pieces)
- Soldering iron (to join the pieces together)
- Flux (facilitates soldering)
- Safety goggles (to protect your eyes)
- Optional: a sturdy base to hang your suncatcher
These materials are not just tools; they are your allies in crafting something beautiful, each with its special role in the creation.
Step-by-Step Directions
- Choose your design. Start with a simple pattern if this is your first attempt—a heart or a simple flower might be nice.
- Prepare your glass. Use the glass cutter to score your chosen pieces according to your design. Ensure your cuts are fluid and gentle, applying minimal pressure.
- Break the glass. Carefully use the running pliers to snap your scored glass along the line. This part may take some practice, so be gentle.
- Tape the edges. Apply copper foil tape along the edges of each glass piece, ensuring it adheres well for effective soldering. This tape acts as a surface for the solder to stick to.
- Assemble your suncatcher. Begin arranging the pieces on a flat surface, fitting them together like a puzzle.
- Solder the pieces. With your soldering iron heated, carefully apply solder to the foil edges where the glass pieces meet. Allow it to flow smoothly, creating strong bonds.
- Clean your suncatcher. Once you finish soldering, gently clean the glass to remove any residue or fingerprints.
- Add a hanging mechanism. Use a sturdy wire or chain to hang your suncatcher, and find a sunny spot to display it.
Using Stained Glass Suncatchers in Everyday Life
Once your stained glass suncatcher is complete, it can bring a new level of charm to your space. Place it in a window that catches the sun’s rays, and watch how the colors dance and shift with the changing light throughout the day. Suncatchers become a focal point, inviting admiration from those who pass by. Each glimmer of color can serve as a gentle reminder to appreciate small moments of beauty in everyday life.
How to Store or Reuse Stained Glass Suncatchers
Caring for your suncatcher ensures its longevity. If you ever need to store it, wrap it gently in soft cloths to avoid scratches and place it in a sturdy box. You can also periodically clean the glass with a mild soap solution to keep it sparkling. Should your aesthetic tastes change, consider carefully disassembling your suncatcher to create a new design, breathing fresh life into your crafting journey.
Gentle Tips & Variations
- Experiment with colors. Try using different shades of glass to create a mood or theme in your suncatcher.
- Mix textures. Combine smooth and textured pieces of glass for visual contrast and interest.
- Incorporate found objects. Consider adding small trinkets or natural elements like pressed flowers within your design for a personal touch.
- Create seasonal themes. Make unique suncatchers for different times of the year or special holidays, celebrating the changing light.
- Invite a friend. Crafting together can enhance the experience, allowing you to share techniques and ideas while enjoying each other’s company.
FAQs About Stained Glass Suncatchers
What kinds of glass can I use for suncatchers?
Stained glass sheets are ideal due to their color depth, but you can also use any colored glass that is suitable for cutting.
Can I use a soldering iron if I am a beginner?
Absolutely! Just take your time, wear safety goggles, and practice on scrap pieces if needed. Begin with small sections to gain confidence.
How do I ensure my suncatcher hangs well?
Make sure to securely attach a hanging wire or hook at the top. Test its balance by hanging it temporarily before finalizing its placement.
Conclusion
Creating stained glass suncatchers is a wonderful blend of art and mindfulness. Each moment spent crafting can instill a sense of calm and fulfillment, encouraging you to appreciate the beauty that surrounds you. If you’re looking to expand your collection or simply enjoy more beautiful designs, check out options like the variety of stained glass window hangings available here.